Address
JINKE Technology Industrial Park, No. 3188 ChunYuan Road, Weifang City, Shandong Province, China
Work Hours
Monday to Friday: 7AM - 7PM
Weekend: 10AM - 5PM
Address
JINKE Technology Industrial Park, No. 3188 ChunYuan Road, Weifang City, Shandong Province, China
Work Hours
Monday to Friday: 7AM - 7PM
Weekend: 10AM - 5PM

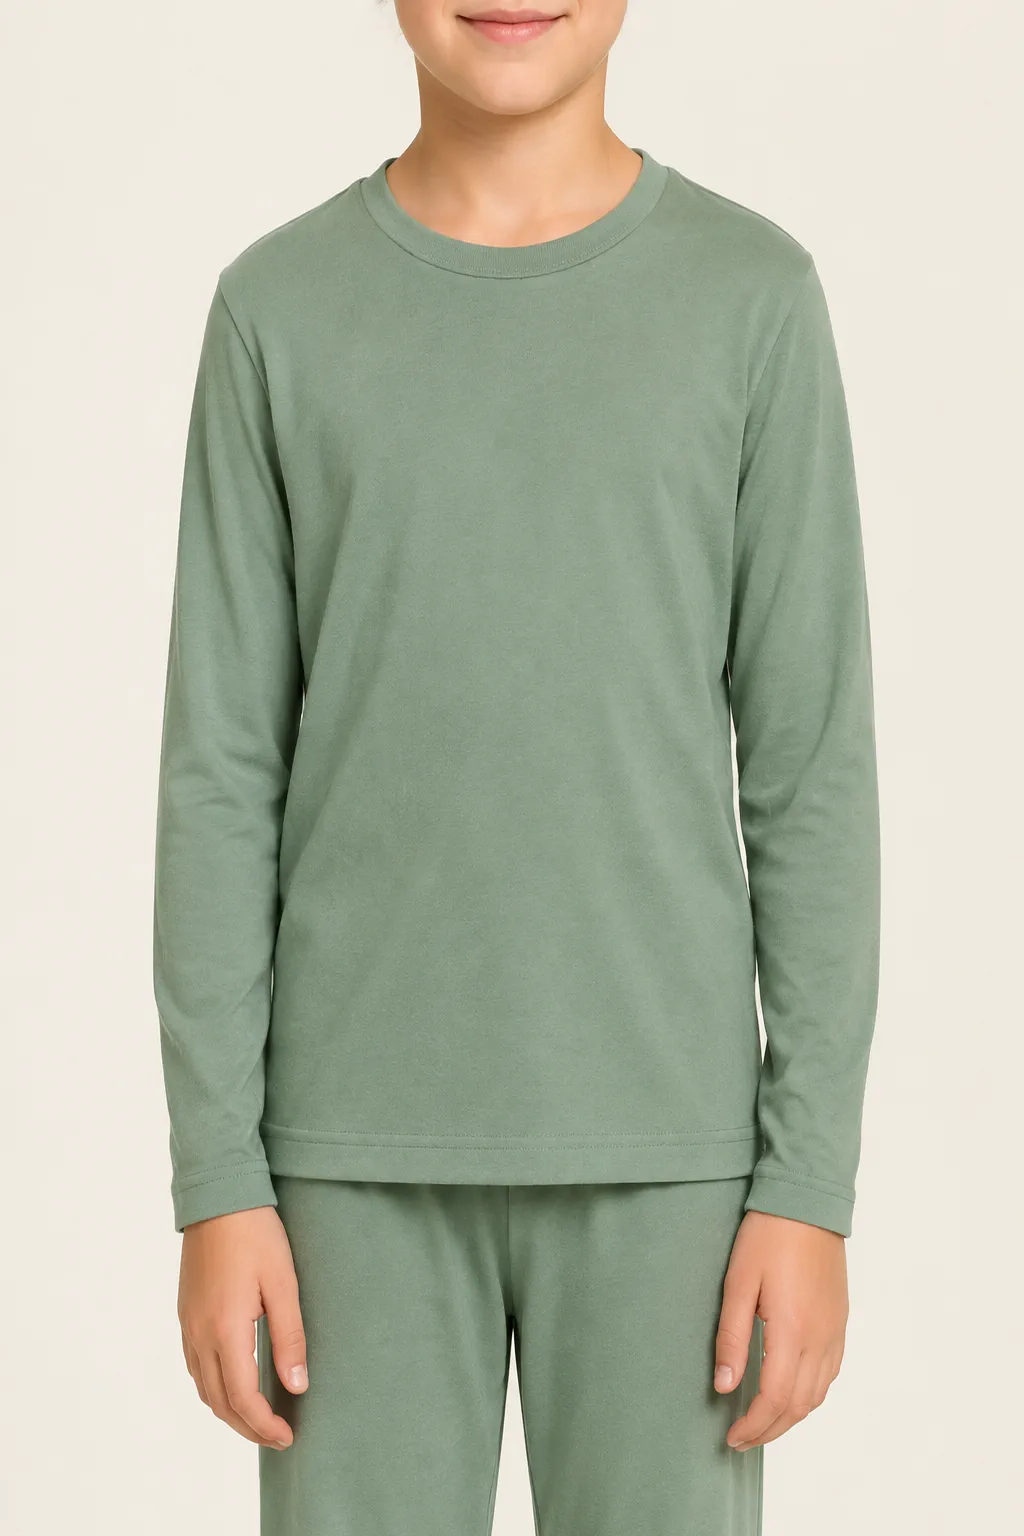
Short answer: A useful kidswear size chart connects the size label a shopper sees with a clearly sourced body-size reference and a separate finished-garment measurement specification. Age can be a familiar label, but it is not enough for a factory to make or inspect a garment consistently. Buyers should confirm the target market, fit intent, base size, points of measure, grading method and tolerances with their product team and patternmaker before bulk production.
I treat a size chart as a product-development control, not just a merchandising graphic. The same approved information should guide the brand’s product page, pattern, sample comments, factory measurement sheet and quality checks. When those documents describe different versions, a size label alone will not resolve the difference.
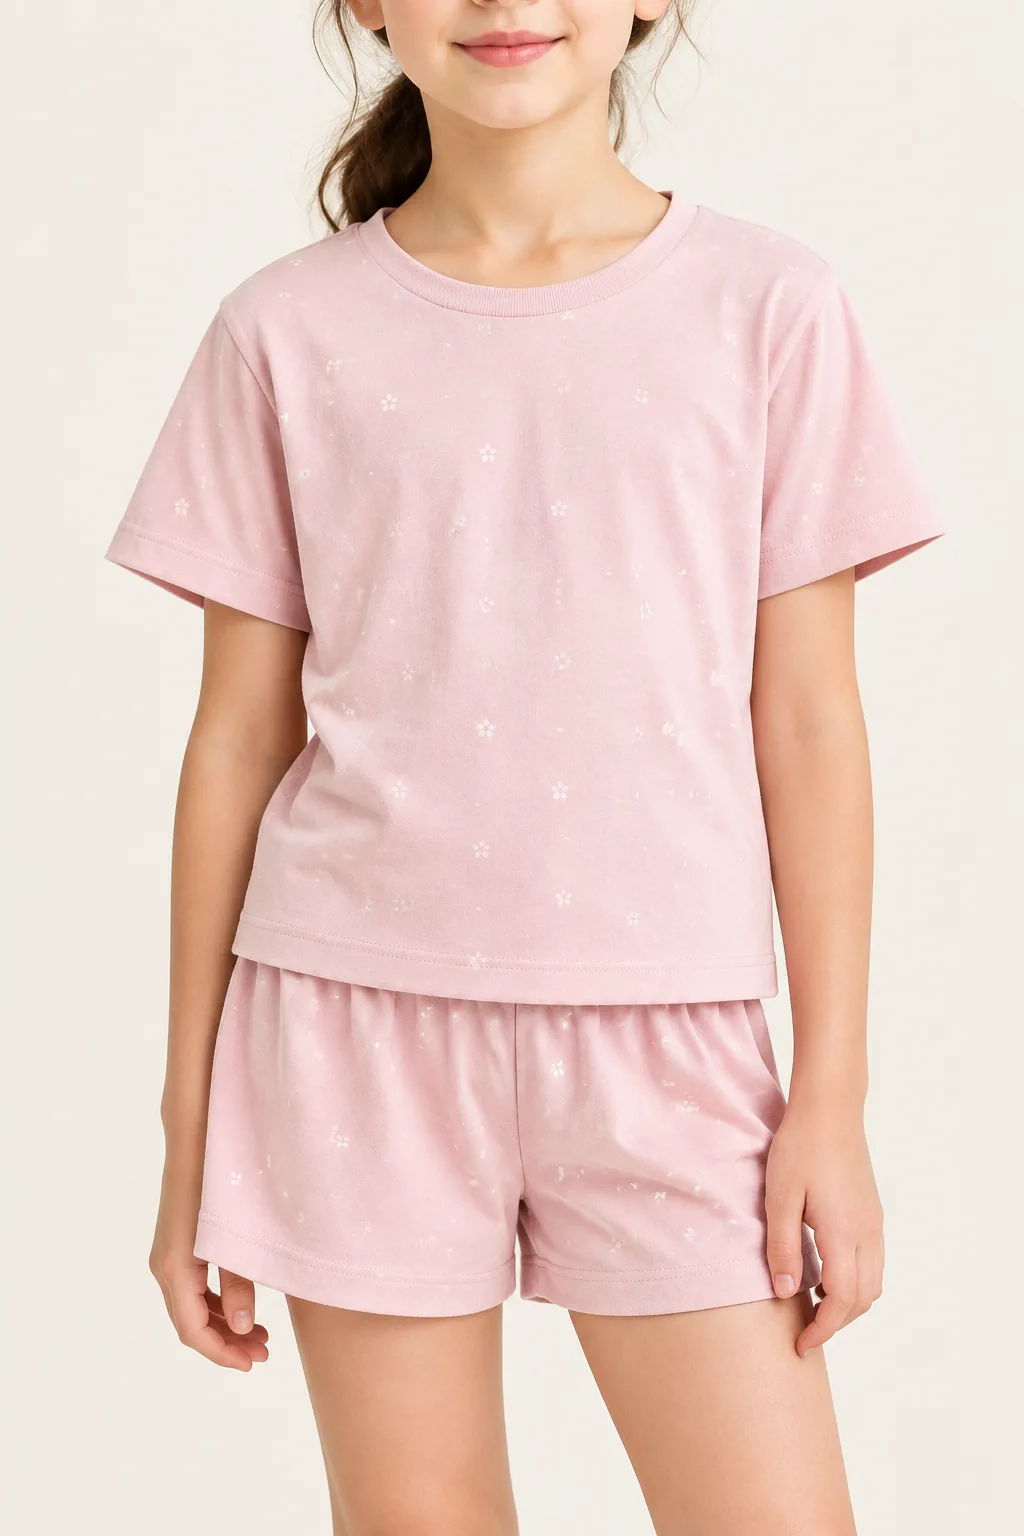
Age labels are easy for shoppers to recognize, but children of the same age can differ in height, proportions and preferred ease. Brands also use different market conventions and fit blocks. A factory cannot reliably cut a garment from an age label without the pattern and finished-garment specification behind it.
The distinction matters because a size chart may describe either the wearer or the garment. A body chart helps a customer choose a size. A garment measurement chart tells a product team and factory what the finished piece should measure. If the chart does not say which one it is, people may compare unlike values or add ease twice.
| Chart or file | What it describes | Main user | Production use |
|---|---|---|---|
| Customer-facing size guide | The brand's size labels and the body range or fit guidance associated with them | Shopper and customer-service team | Supports size selection; not a cutting instruction by itself |
| Body measurement reference | The intended wearer measurements and the source or market system used | Brand, fit team and patternmaker | Helps define fit intent and size coverage |
| Finished-garment measurement chart | Measurements taken on the garment at named points | Patternmaker, factory and QC team | Supports pattern review, sample approval and inspection |
| Grade specification | How approved garment points change from one size to another | Patternmaker and technical team | Defines the size run after the base size is approved |
Do not copy a public chart and treat it as a universal standard. A competitor’s chart can provide market context, but it does not establish your block, garment measurements, grade rules or legal requirements. For example, The Children's Place size chart is a brand-specific reference for its shoppers, not a factory specification for another label.
Start by defining the product and the customer rather than choosing numbers first. A fitted T-shirt, a relaxed sweatshirt, a woven dress and a diaper-covering romper need different fit decisions. The chart should reflect the intended garment, material behavior and destination market.
Before the patternmaker finalizes values, agree on these inputs:
Record what is confirmed and what remains provisional. If the brand has not chosen a fit block, say so. A factory can review the brief and identify missing information, but should not silently invent child body ranges or represent assumptions as approved standards.
There is no single field that can replace a brand’s fit system. Age, height and weight can play different roles, and the right combination depends on the market, product and source data. The important step is to document the basis and avoid presenting a rough label as a guaranteed fit prediction.
| Input | Potential role | Buyer caution |
|---|---|---|
| Age label | Familiar shopper-facing navigation | Children of the same age vary; age alone is not a garment measurement |
| Height | Useful body reference when the brand's approved system supports it | Confirm units, measurement source and how the value maps to the brand's fit block |
| Chest, waist, hip or other body measures | Can clarify proportions relevant to a product | Use only the points and ranges approved for the target market and fit system |
| Weight | May appear in some brand or product contexts | Do not use as a substitute for garment POMs or assume it predicts all proportions |
| Garment measurement | Describes the finished product | Label it clearly and specify the measurement method and tolerance |
Avoid combining fields just because more numbers seem more precise. Each field should have a defined source and a practical use. If a value is not supported by the brand’s approved reference, leave it for the responsible fit team to confirm.
Body measurements describe the wearer. Garment measurements describe a finished item laid or measured in a defined way. The difference between them is not automatically a fixed amount: it depends on the pattern, fabric, construction, intended ease and how the measurement is taken.
For a garment chart, show a flat sketch or measurement diagram with numbered points of measure (POMs). The table should use the same POM names and numbers as the tech pack. State whether a value is a half measurement, circumference, relaxed measurement or extended measurement where that distinction applies.
| Specification field | What to document |
|---|---|
| POM number and name | One stable identifier and a plain-language point name |
| Visual location | Diagram that shows exact start and end points or measurement path |
| Measurement state | Flat, relaxed, extended, buttoned, zipped, or another defined condition |
| Units and format | Units, decimal precision and whether a width is half-width or full circumference |
| Base size | The approved size from which the pattern and grade are developed |
| Tolerance | Agreed acceptable variation for that point and product; confirm with the technical team |
| Version | Date, style code, revision number and approver |
A measurement number without a method may be difficult to reproduce. For example, a knit opening can read differently when stretched. A gathered or elasticated section may need relaxed and extended values. The measurement diagram and method should resolve those questions before the factory or inspector checks the garment.
The base size is the starting point for pattern development and sample review. Select it using the brand’s approved fit reference and the product’s intended wearer, not simply because it sits in the middle of the size labels. A patternmaker should confirm the base-size specification and how adjacent sizes will be developed.
Write fit intent in concrete terms. “Comfortable fit” is open to interpretation. Instead, explain whether the garment is meant to sit close to the body, allow room for a layer, have a dropped shoulder, cover a diaper, or leave extra length for a particular design purpose. Use reference photos, sketches and an approved garment where they help, while keeping measurements as the controlling specification.
At sample review, assess more than whether the garment looks attractive on one child or mannequin. Check the intended product use, movement, coverage, openings, balance and proportions. A single fit model cannot represent every wearer, so combine physical review with the approved measurement chart and documented fit comments.
Grading is the patternmaker-defined change between adjacent sizes. It should follow the approved block, product proportions and market system. Do not apply one assumed increment to every POM or product category: body length, chest, sleeve, rise and openings may change differently, and construction can affect how a point is graded.
The buyer should review the full intended range before production, even when only one size is sampled initially. A base-size sample can help confirm styling and construction, but it does not by itself prove that every size has correct proportions. Agree with the patternmaker how the other sizes will be checked, using measurement review, additional fit samples or another suitable method for the program.
Numeric body ranges and grade increments are intentionally not supplied here. Hengcheng should add only values confirmed by its patternmaker and tied to a stated product and reference system.
The POM list depends on the garment. A generic chart can omit a critical point or include one that does not apply. Build a product-specific diagram and ask the patternmaker to define the measurement path, method and tolerances.
| Product type | Example areas to discuss with the patternmaker | Points that may need special definition |
|---|---|---|
| T-shirt or top | Body length, chest, shoulder, sleeve and neck opening | Rib opening, sleeve opening, shoulder drop and stretch state |
| Sweatshirt or hoodie | Body and sleeve dimensions, hood shape and opening | Cuff and hem rib, hood depth, hood opening and pocket placement |
| Bottom or legging | Waist, hip, rise, inseam, outseam and leg opening | Elastic relaxed/extended state, crotch construction and stretch recovery |
| Dress | Chest, length, shoulder or strap position and skirt proportions | Lining length, gathers, waist placement and closure position |
| Romper or one-piece | Body length, chest, waist, leg opening and closure path | Crotch depth, snap/zipper access, diaper allowance and opening function |
These are discussion prompts, not a universal required checklist. The approved tech pack should include only relevant points and should make every point measurable in a repeatable way.
The measurement chart must correspond to the approved material and finish. Knit stretch, fabric recovery, shrinkage, garment washing, pressing and elastic behavior can change the finished dimensions or the way a point is measured. A chart prepared for one material may not remain suitable after a fabric or process substitution.
During development, tell the factory which material is approved or provisional. Review the sample after any agreed wash or finishing method when that process is part of the product. If dimensions shift, first confirm the test or measurement method and compare the same garment state; then decide with the technical team whether the pattern, process, specification or tolerance requires a controlled revision.
Do not promise that a chart guarantees fit after every wash. The care instructions, test method, fabric behavior and market requirements need their own review. Keep any product claim within the evidence available for the actual fabric and garment.
Measure the sample against the current POM sheet and review it for the intended fit. Use the same method that will be used in later approvals. If the sample is made in a substitute fabric or an unapproved trim, mark that limitation in the comments; do not treat its measurements as final evidence for bulk.
When a sample fails a measurement, do not simply adjust the chart to match it. First determine whether the issue is the pattern, construction, material, measuring technique or an unclear instruction. The chart should reflect the approved product, not conceal a development problem.
The chart becomes a useful QC reference only after the buyer and technical team have approved its points, methods and tolerances. Send the same dated version used for the approved sample and purchase order. A chart without a clear reference sample or revision history can lead to disputes about which measurement is current.
For a production check, define the relevant styles, sizes, measurement points, sample plan and method with the factory and inspection partner. Record actual measurements rather than only a pass/fail label when the program requires traceability. If several sizes are produced, agree how size coverage will be verified; a single base-size check may not detect a grading issue.
| Control step | Buyer and factory should align on |
|---|---|
| Before cutting | Current size chart, base-size approval, grade status and material version |
| During sampling | Measurement method, fit comments, revision owner and next approval gate |
| Before bulk release | Frozen tech pack, approved sample, confirmed tolerances and quantity by size/color |
| During inspection | Sizes and POMs to check, measuring state, records and escalation route for a variance |
| After a change | Affected sizes, revised file version, reapproval needs and old-file withdrawal |
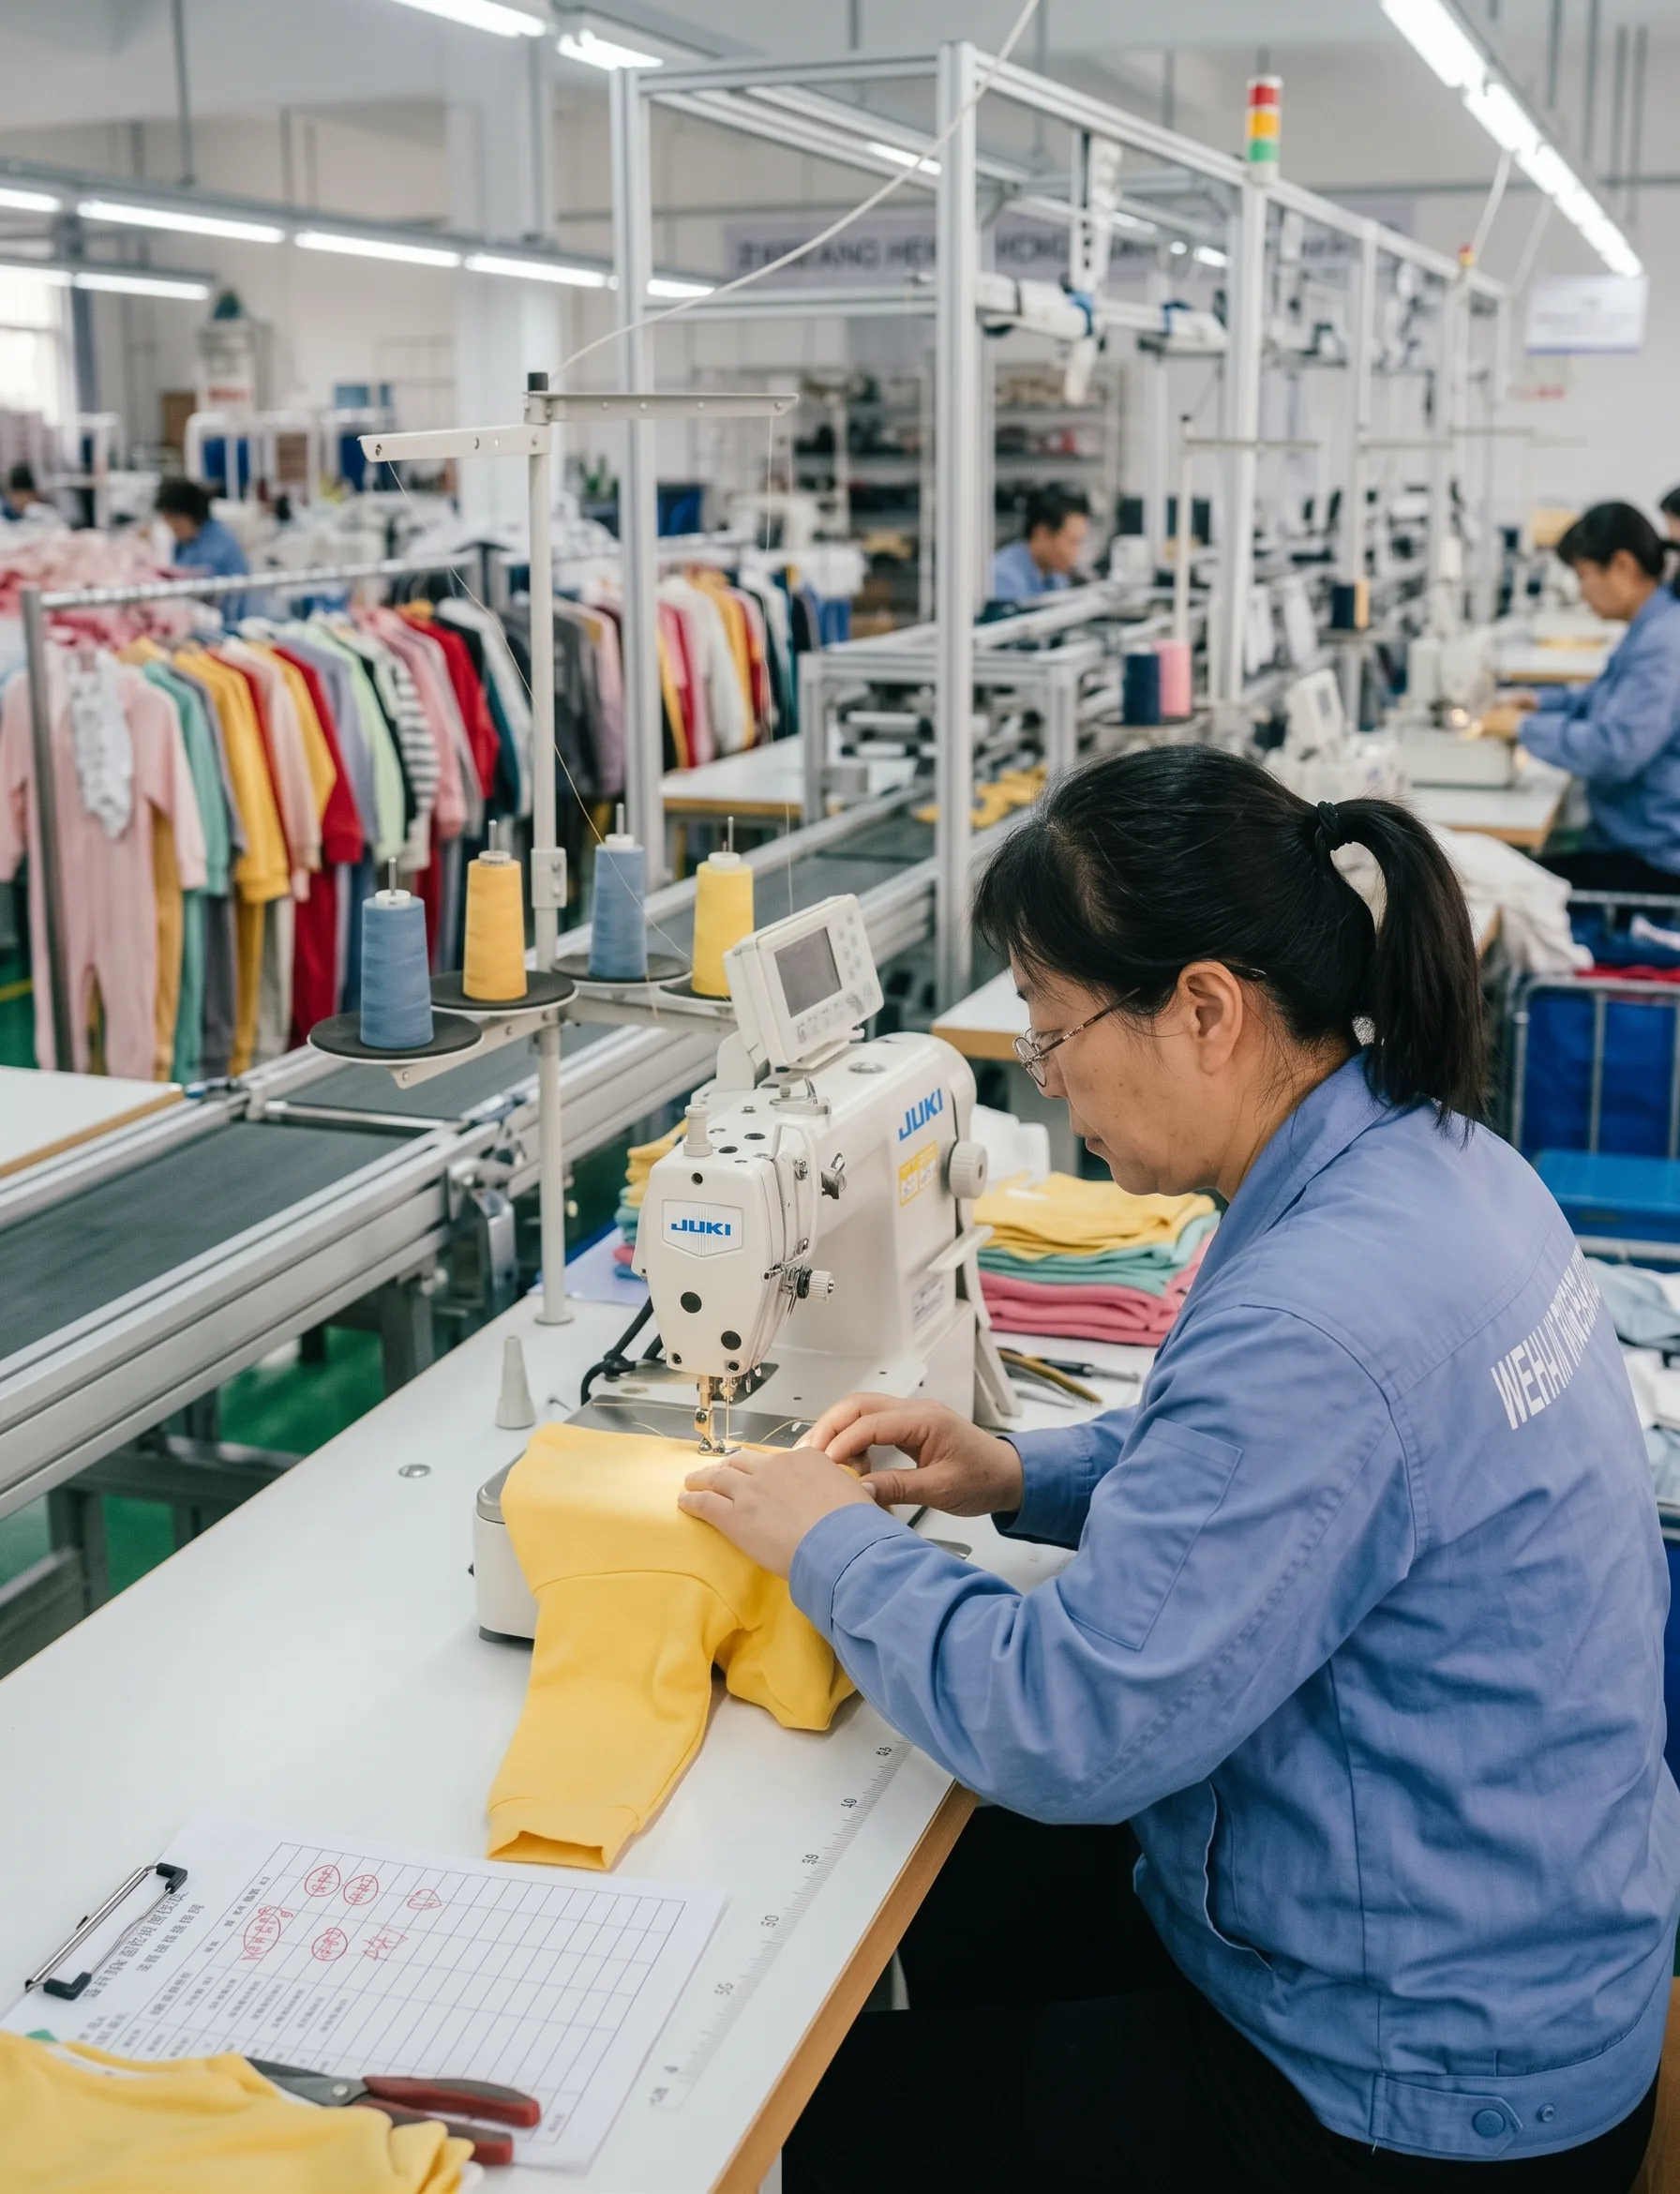
Visual inspection and measurement checks do not replace laboratory testing, a compliance assessment or destination-market advice. For children's products, buyers should confirm applicable requirements with a qualified compliance partner and ensure product-specific labels and test plans are handled by the responsible parties.
Send enough information to distinguish confirmed requirements from open questions. A polished size chart is not necessary for an initial scope discussion if the brand is still developing it. A factory can identify missing manufacturing inputs, but final fit values and market obligations should remain with the brand’s product, pattern and compliance owners.
| RFQ or development input | What to include |
|---|---|
| Product reference | Style code, photos or sketch, front/back views and important detail callouts |
| Market and fit intent | Destination market, intended use, fit description and brand size-label plan |
| Size information | Known body reference, proposed size labels, base size and open sizing decisions |
| Garment specification | POM diagram, measurement method, approved values, grade status and tolerance status |
| Material and trims | Fabric direction, composition if confirmed, stretch/finish, labels, elastic and closures |
| Order plan | Quantity by style, colorway and size, with assumptions clearly marked |
| Approval responsibility | Who approves fit, pattern, materials, labeling and any compliance or testing decisions |
Ask the factory to return its assumptions and exclusions in writing. This makes it easier to compare suppliers and reduces the risk that an estimate is mistaken for a final production specification. For a quote, give the same size and quantity plan to each supplier so that the offers describe a comparable scope.
The most common problems are document-control and definition gaps rather than arithmetic errors. They can be prevented by assigning an owner to each decision and keeping body references, garment POMs and shopper-facing guidance distinct.
From a China OEM and private-label factory perspective, the first step is to separate the confirmed product decisions from assumptions. A factory-side review can identify whether the available style reference, fabric direction, measurement diagram, size range and quantity plan are sufficient for the next development or quotation step. The final size system and body references should be confirmed by the buyer’s product team and patternmaker.
Hengcheng develops OEM and private-label kidswear. For an inquiry, share the garment reference, intended market, fit direction, available POMs, material and trim details, quantity by style/color/size, branding and packing needs. If sizing is still under development, mark the open fields and ask what further information is needed before sampling. Product-specific compliance and testing decisions remain with the buyer and qualified advisers.
See the Kidswear manufacturing and quotation guidance and the kidswear development process for related manufacturing questions.
Use the size system approved for the brand and destination market. Age may be a shopper-facing label, while height or other body measures can provide reference when supported by the brand’s fit system. The factory still needs finished-garment POMs to make and check the product.
Only include weight when the brand’s approved chart and market use support it. Weight does not replace garment measurements and should not be treated as a complete description of body proportions or fit.
A body chart describes the wearer; a garment chart describes the finished product at named points. Keep them separate and show how the brand intends the garment to fit the wearer.
Use a public brand chart as context only. It is brand-specific and does not replace your fit block, technical specification, licensed reference or market review.
Not automatically. A base-size sample can confirm many design and construction choices, but the brand and patternmaker should decide how the grade and size-range proportions will be reviewed.
The buyer’s technical team and patternmaker should define grading and tolerances for the product. Align the measurement method with the factory and QC or inspection partner before bulk.
Age labels alone are not enough for a reliable production specification. The factory can review available information and identify gaps, but approved body references, fit intent, garment POMs and grading decisions must be supplied or confirmed by the responsible product team.
No. A size chart is a fit and product-development document. It does not replace required testing, labeling review or destination-market compliance advice.
This buyer guide is informational. Confirm numeric size ranges, grade rules, tolerances, factory terms and destination-market obligations with the responsible product, production and compliance professionals before using them for a commercial decision.